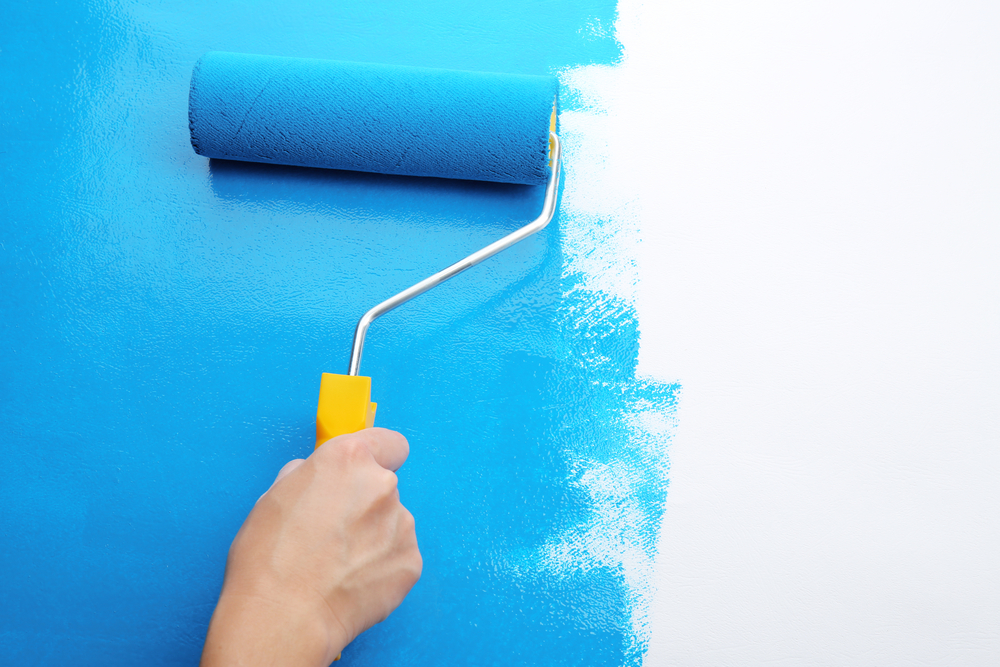
Love to paint, even if you’re no Picasso with a brush? Before you attack that tired-looking wall with a brush dripping in a vibrant new colour and with a gleam in your eye, be sure to consider why a professional, thorough job is far less stressful. It’s easy to make a mess and do things poorly when painting, especially if you have limited experience. That’s why you need some expert tips on the ins and outs of a proper painting job; we all need some handy reminders once in a while! To get the best results possible, here are ten key tips to get you started on the right foot. Make each brushstroke count!
 Go With Premium Paint
If you see a can of paint “on special” and can’t help but fall in love with the price, beware. Not is all that it seems and, in many cases, it won’t turn out to have a suitable finish or colour that you were hoping for. This is why colour swatches are useful in determining what types of colour will suit your room. Don’t forget as well that there are different finishes, such as matte and glossy varieties – not all will go well with the room you have in mind! We recommend shortlisting about three colour swatches before testing the paint. You should also take some time to research what brands are best. Premium paint not only looks better but binds better for a smoother application, so don’t be afraid to spend that little bit more, as it could save you from having to waste money on a bad can, re-coat in white, and start all over again.
Sample, Sample, Sample!
A small swatch isn’t really enough to give you a true indication of how the colour will look throughout your home. Make sure to buy a small amount of paint from the stores and test it out on the wall before fully committing. A couple of strokes should be just enough to see how the colour sets and whether it’s the right one for the room. Don’t be afraid to experiment and dabble at this stage – you may enjoy the final results even more in the end after coming across something special!
Determine How Many Cans You Need
Running out of paint halfway or ending up with an extra can may be frustrating, but it’s not something we all have to go through. above all else, nobody wants to make that mad dash to the Home Depot to stock up while trying to finish a job. Instead, take the time to measure so you know how many cans you need. Some paints have different levels of coverage, so refer to the paint can or speak to the seller regarding the amount of paint you will require.
Buy Quality Supplies
Having a good paint brush, roller, and trim brush is highly underrated. The difference can be astonishing if you have the right materials. For the best results, purchase a slim tip as well as an angled brush for cutting in trim. A mix of roller sizes also will ensure you get the job done right. In the end, you’ll enjoy a smoother, more beautiful and even coat that really livens up the room.
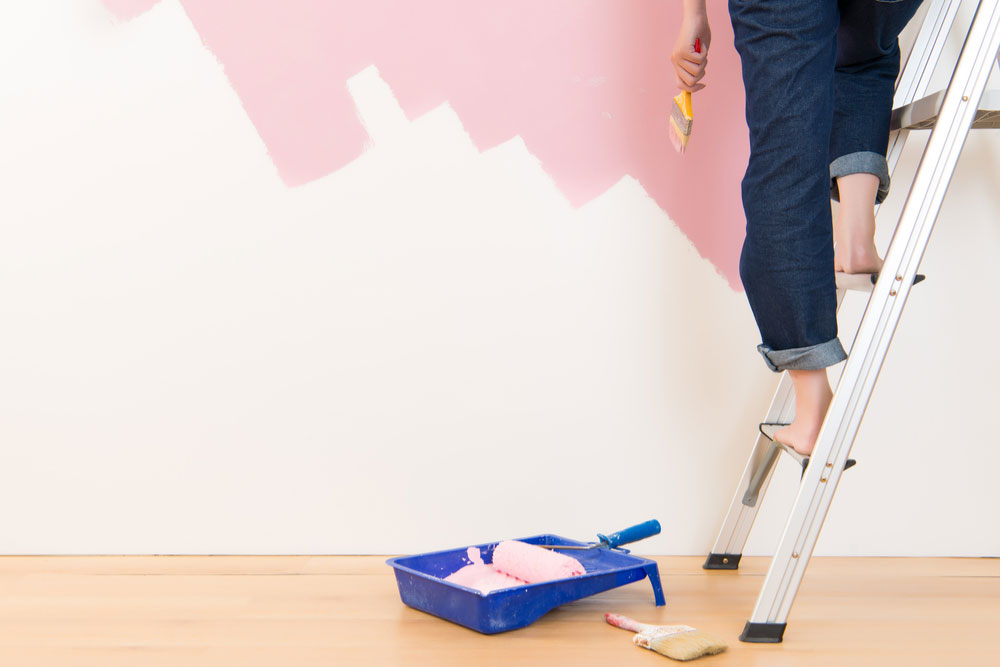
Don’t make these mistakes above! Can you spot them all?
Never Paint in Humid Conditions
Humidity can cause the paint to bubble, which will end up creating more work for you. Always wait for a dry day before you start. Otherwise, you’ll find yourself in a mess with more time required to clean up than necessary! Besides that, the fact remains that your coating will likely be a bit sloppy and uneven if you paint in humid conditions.
Clean the Walls First
The majority of walls are caked with dust and dirt, which can prevent the paint from sticking. So, before you paint, make sure to give those walls of yours a quality wash first! It can speed up the process and also means less need for a clean-up afterwards if you get those dust bunnies out of the way. Again, this will also influence the quality of each coat of paint you apply.
Pick The Right Sandpaper
Sandpaper comes in a variety of different grit types and materials. When choosing a grit, use a medium one when you’re preparing walls, a coarser grit when taking off chipped or peeled paint, and then a very fine grit for smoothing surfaces. Believe us, you’ll see and feel the difference.
Use Painter’s Tape
Want straight edges and no accidental drops of paint on your moulding? Painter’s tape is the way to go. It’s cheap, easy to install and offers the best way to protect surfaces and ensure you have straight lines. But even though it’s a great guide, it’s not always perfect, as paint can sneak under the edge. To avoid this from happening, paint to the edge but not directly on it. Better safe than sorry!
Protect Everything with the Right Coverings
The number one no-no we see from inexperienced painters is that they simply pick up a wet brush and get to work without covering their surroundings. Beds, furniture, flooring (especially carpet), and other surfaces are just waiting to be ruined by wayward drops of paint, and you should also remove all wall art and valuable decor as a precaution before starting. Drop clothes are a necessity when painting, and anything you need to protect, like your furniture and floors, should be totally covered.
Never Dip The Paintbrush In the Can
Besides being incredibly sloppy, dipping the brush directly into the can has the potential to impact the quality of the paint. For best performance, use a paint tray or cut bucket and fill it a third of the way it will help to avoid any spills and messes.
Painting doesn’t have to be a hassle, but we understand that it’s not for everyone. To get the job done right, call us at To Do-Done.

